Last Updated on February 2, 2026 by Sophy
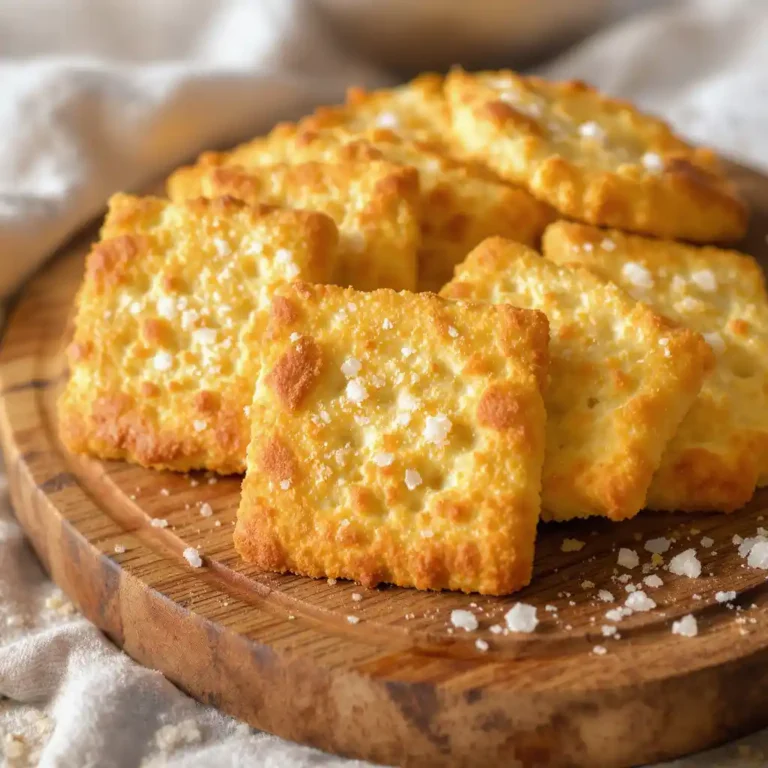
Have you ever stared at the price tag on a box of gluten free crackers and felt your wallet cry? At $5-7 per box for premium brands, those crispy little squares can cost more per pound than premium cheese! But here’s the thing – making your own gluten free crackers costs roughly $1.50 per batch and takes just 45 minutes of active time.
Whether you’re newly diagnosed with celiac disease, managing gluten sensitivity, or simply choosing a gluten-free lifestyle, finding the perfect gluten free crackers shouldn’t break the bank or compromise on taste. The challenge with gluten free crackers lies in achieving that perfect balance – crispy without being brittle, flavorful without being overwhelming, and sturdy enough to hold your favorite toppings.
In this comprehensive guide, I’ll share my foolproof homemade gluten free crackers recipe that rivals any store-bought option, reveal which commercial gluten free crackers brands are worth your money, and provide expert troubleshooting tips that’ll turn you into a gluten free cracker master. By the end, you’ll have everything you need to enjoy perfect gluten free crackers whenever the craving hits.
JUMP TO
Understanding Gluten Free Crackers: The Science Behind Success
Why Regular Crackers Don’t Work for Us
Traditional crackers rely heavily on gluten – that stretchy protein network that gives wheat-based foods their structure. When you remove gluten, you lose the binding agent that keeps gluten free crackers from crumbling into sad, floury pieces. It’s like trying to build a house without the framework – technically possible, but requiring completely different engineering.
Regular cracker recipes also depend on gluten’s ability to trap steam during baking, creating those satisfying air pockets and crispy layers. Without it, gluten free crackers can turn out dense, gritty, or disappointingly flat.
The Secret to Gluten Free Success
The key to exceptional gluten free crackers lies in understanding three critical factors:
1. Flour Blend Composition: Not all gluten free flours are created equal. The best crackers come from blends that include rice flour for structure, tapioca starch for chewiness, and potato starch for lightness.
2. Binding Power: Xanthan gum, eggs, or even ground flaxseed can provide the binding that gluten normally offers. Too little and your gluten free crackers crumble; too much and they become gummy.
3. Fat Integration: The type and temperature of fat you use dramatically affects the texture of your gluten free crackers. Cold butter creates flaky layers, while room-temperature olive oil produces a more tender crumb.
Dietary Variations That Actually Work
One of the biggest advantages of making your own gluten free crackers is customization. Here’s what I’ve learned works:
- Dairy-Free: Substitute coconut oil or vegan butter (stick form works best)
- Egg-Free: Use 1 tablespoon ground flaxseed mixed with 3 tablespoons water per egg
- Nut-Free: Ensure your flour blend doesn’t contain almond flour
- Low-Sodium: Reduce salt by half and boost flavor with herbs and spices
The Ultimate Homemade Recipe
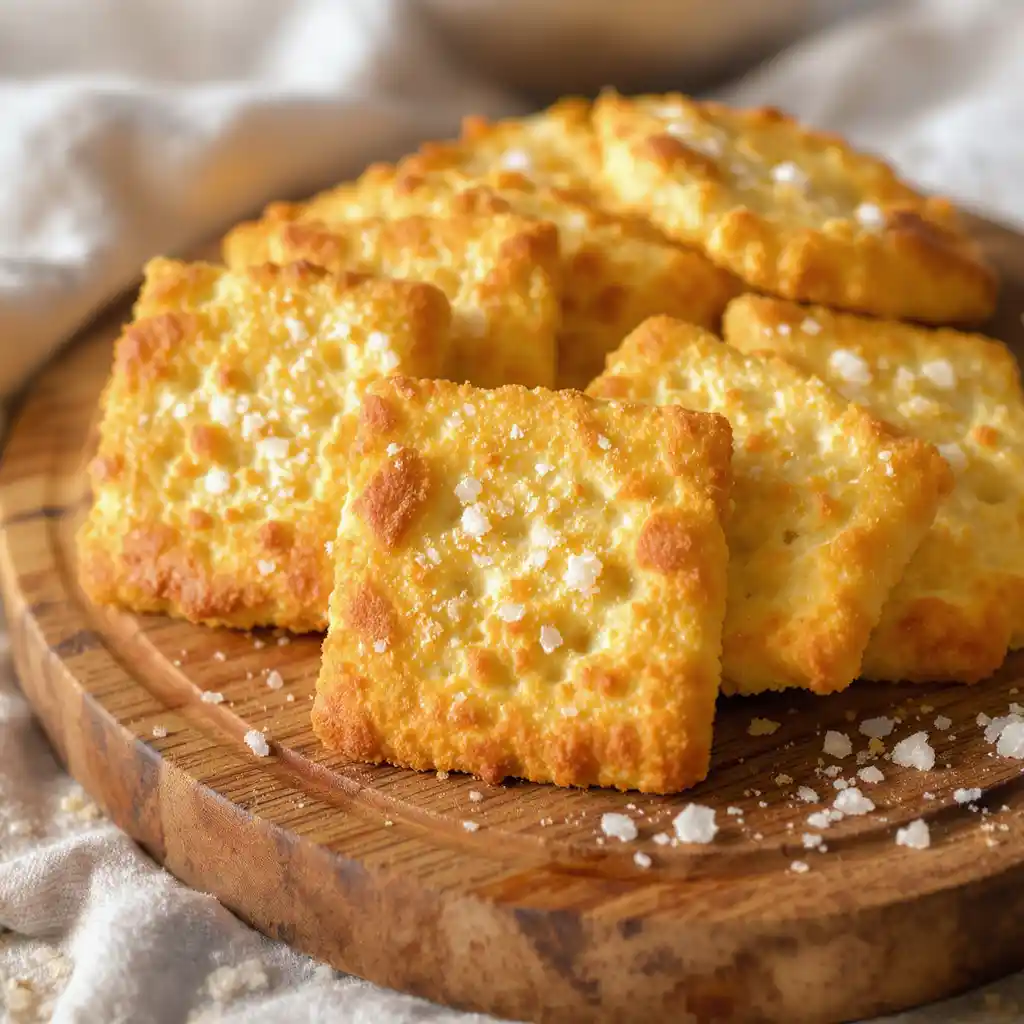
Gluten Free Crackers
Ingredients
Method
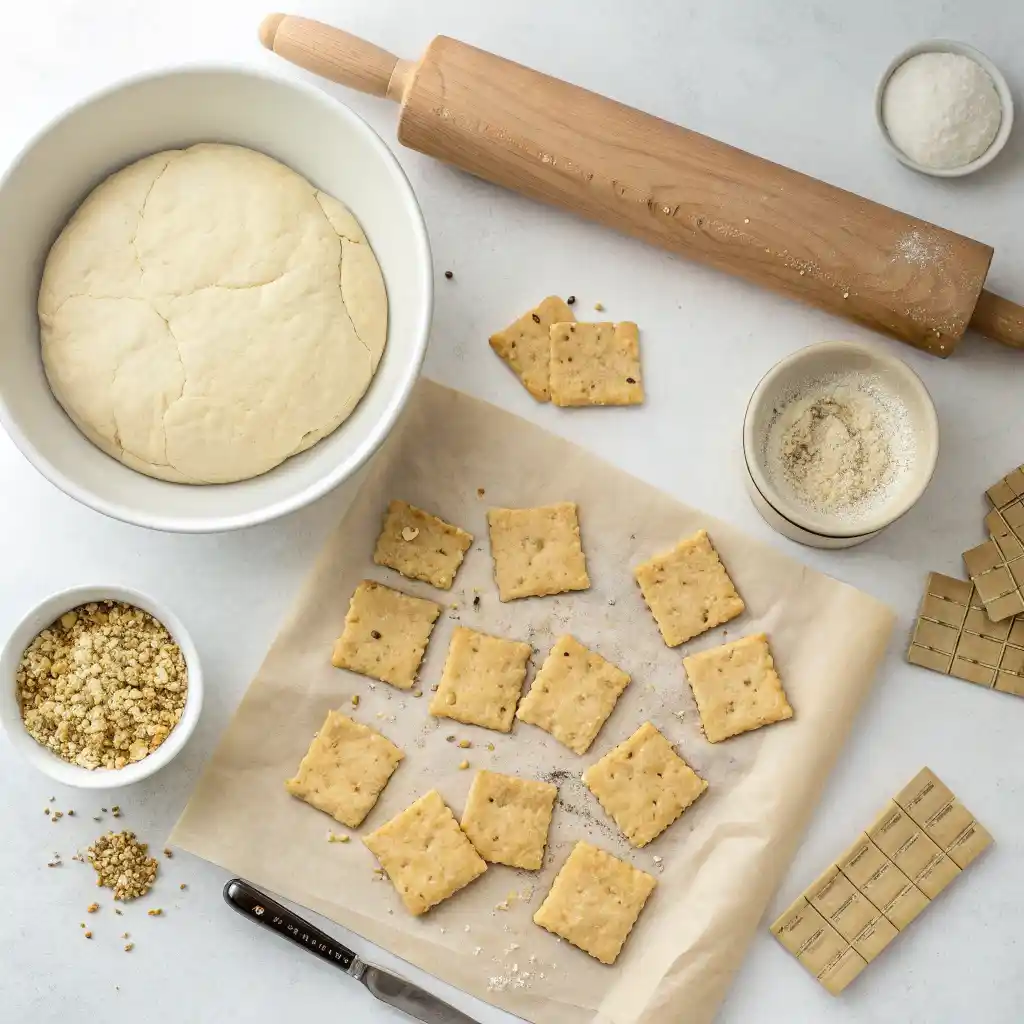
- Mix the dry ingredients: In a large bowl, whisk together gluten free flour, salt, garlic powder, and sugar until well combined.
- Add wet ingredients: Create a well in the center of the flour mixture. Add olive oil, cold water, and beaten egg. Using a fork, gradually incorporate wet ingredients into flour mixture until a shaggy dough forms.
- Knead briefly: Transfer dough to a clean counter and gently knead for 30 seconds until it comes together into a smooth ball. Don’t overwork it.
- Rest the dough: Flatten dough slightly, wrap tightly in plastic wrap, and refrigerate for 20 minutes. This allows the flour to hydrate properly.
- Preheat and prep: Preheat oven to 375°F (190°C). Line 2 large baking sheets with parchment paper.
- Roll the dough: Divide dough in half. On a lightly floured parchment sheet, roll one portion into a rectangle about ⅛-inch thick (3mm). Aim for even thickness throughout.
- Cut into crackers: Using a sharp knife or pizza cutter, cut dough into 2-inch squares. Don’t separate them – they’ll break apart naturally after baking.
- Transfer and repeat: Carefully transfer parchment with cut dough to prepared baking sheet. Repeat process with remaining dough portion.
- Add toppings: Brush crackers lightly with olive oil and sprinkle with flaky sea salt or your chosen toppings.
- Bake: Bake for 12 minutes, then rotate pans and swap their positions (top to bottom). Continue baking 8-12 minutes until golden brown and crispy.
- Cool and separate: Remove from oven and cool on pan for 5 minutes. Carefully break crackers apart along cut lines. Transfer to cooling racks and cool completely.
Notes
- Thickness matters: For extra-crispy crackers, roll closer to 1/16-inch. For substantial crackers, stick to ⅛-inch.
- Flour blend recommendation: King Arthur Measure for Measure works best for easy handling.
- Storage: Store in airtight container for up to 1 week at room temperature.
- Make-ahead tip: Cut crackers can be frozen on parchment for up to 3 months. Bake directly from frozen, adding 3-4 extra minutes.
Equipment You’ll Need
Essential:
- Large mixing bowl
- Rolling pin (or clean wine bottle in a pinch)
- Sharp knife or pizza cutter
- 2 large baking sheets
- Parchment paper
Nice-to-Have:
- Kitchen scale for precise measurements
- Pastry brush for oil application
- Cooling racks
Recipe Variations That Shine
Mediterranean Herb Crackers: Add 1 teaspoon dried oregano, ½ teaspoon dried basil, and ¼ teaspoon dried thyme to the flour mixture.
Spicy Chili Lime: Include ½ teaspoon chili powder and ½ teaspoon lime zest in the dough, finish with coarse salt and lime zest.
Parmesan Power: Mix in ¼ cup finely grated Parmesan cheese and reduce salt to ¾ teaspoon.
Seed & Grain Crunch: Fold in 2 tablespoons mixed seeds (sesame, poppy, sunflower) for extra texture and nutrition.
Buying Guide: Best Store-Bought Gluten Free Crackers
Sometimes you need gluten free crackers NOW, and that’s perfectly okay! Here’s my honest assessment of what’s available:
Premium Tier ($4-7 per box)
Mary’s Gone Crackers Original Seed Crackers
- Why they’re great: Packed with organic seeds and grains, these have a unique nutty flavor and substantial crunch
- Best for: Health-conscious snackers who want maximum nutrition
- Downside: Can be polarizing – you either love the dense, seedy texture or find it overwhelming
Simple Mills Almond Flour Crackers
- Why they’re worth it: Clean ingredient list, satisfying crunch, multiple flavors
- Best for: Paleo and keto dieters (they’re grain-free too)
- Watch out for: Contains almonds, so not nut-free
Hu Kitchen Grain-Free Crackers
- The appeal: Made with cassava flour, they have the closest texture to wheat crackers
- Perfect for: Special occasions and entertaining
- Reality check: Pricey for everyday snacking
Mid-Range Champions ($2-4 per box)
Crunchmaster Multi-Seed Crackers
- The winner: Best value for money in this category
- Strengths: Widely available, consistent quality, good variety pack options
- Ideal use: Everyday snacking and lunch boxes
Blue Diamond Nut Thins
- Standout feature: Incredibly light and crispy texture
- Flavor variety: Excellent range from sriracha to smokehouse
- Consider this: Contains nuts (obviously), and some find them too light for dips
Budget-Friendly Finds ($1-3 per box)
Trader Joe’s Gluten Free Crackers
- The surprise: Remarkably good quality for the price
- Availability: TJ’s exclusive, so stock up when you shop there
- Pro tip: Their everything gluten free crackers are particularly good
Generic Store Brands (Kroger, Safeway, etc.)
- Hit or miss: Quality varies, but some are genuinely good
- Money-saving strategy: Try them with a low-risk purchase first
- Best bets: Stick to simple flavors like sea salt or herb
What to Look for When Shopping
Ingredient Quality Indicators:
- Whole grain flours listed first
- Recognizable ingredients you can pronounce
- Minimal preservatives and artificial additives
- Organic certification (if that matters to you)
Texture Preferences:
- Thin and crispy vs. thick and substantial
- Smooth vs. textured with seeds/grains
- Light and airy vs. dense and filling
Nutritional Considerations:
- Fiber content (aim for 2-3g per serving)
- Protein levels (some seed-based gluten free crackers offer 4-5g)
- Sodium content (varies wildly between brands)
- Serving size reality check (some “servings” are unrealistically small)
Expert Tips & Troubleshooting
After years of perfecting gluten free crackers and helping hundreds of readers troubleshoot their own batches, here are the most common issues and their solutions:
Common Problems & Solutions
“My gluten free crackers are too crumbly and fall apart”
- Root cause: Usually insufficient binding or over-baking
- Quick fix: Next batch, add an extra tablespoon of water to the dough and reduce baking time by 2-3 minutes
- Prevention: Make sure your flour blend contains xanthan gum, and don’t skip the rest period
“They turned out chewy instead of crispy”
- What happened: Likely under-baked or rolled too thick
- Immediate solution: Pop them back in a 300°F oven for 5-10 minutes to crisp up
- Future success: Roll thinner and bake until they sound hollow when tapped
“The dough is too sticky to work with”
- Emergency fix: Dust heavily with flour and use parchment paper for rolling
- Long-term solution: Chill the dough longer (up to 2 hours) and work in a cool kitchen
- Pro technique: Keep your hands and rolling pin lightly floured
“Some are burnt while others are pale”
- Oven issue: Hot spots and uneven heat distribution
- Simple solution: Rotate pans halfway through baking and use the middle rack
- Investment fix: An oven thermometer will reveal if your temperature is accurate
Professional Secrets for Next-Level Crackers
The 10-Minute Oven Trick: After baking, turn off your oven and crack the door open. Leave gluten free crackers inside for 10 minutes – this final drying creates restaurant-quality crispness.
Flavor Layering: Don’t just add seasonings to the dough. Brush with flavored oils (garlic-infused, herb-infused) before baking for deeper complexity.
The Paper Test: Your gluten free crackers are perfectly done when you can slide a piece of paper under them without resistance – they’ll lift cleanly off the parchment.
Batch Preparation Strategy: Make a double batch of dough, roll and cut half, then freeze the other half on parchment. Bake directly from frozen, adding 3-4 extra minutes.
Customization Guidelines
For Dietary Restrictions:
- Egg-free: Replace each egg with 1 tbsp ground flaxseed + 3 tbsp water, mixed and rested 5 minutes
- Lower sodium: Cut salt in half and boost flavor with lemon zest, herbs, or nutritional yeast
- Higher protein: Replace ¼ of the flour with protein powder (adds 2-3g per serving)
Scaling Recipes:
- Doubling: Works perfectly, just use two baking sheets
- Halving: More challenging due to the small egg quantity – use 2 tablespoons beaten egg instead
Seasonal Adaptations:
- Fall: Pumpkin spice blend with a touch of maple powder
- Winter: Rosemary and cranberry pieces (dried, chopped fine)
- Spring: Lemon zest and fresh thyme
- Summer: Sun-dried tomato powder and basil
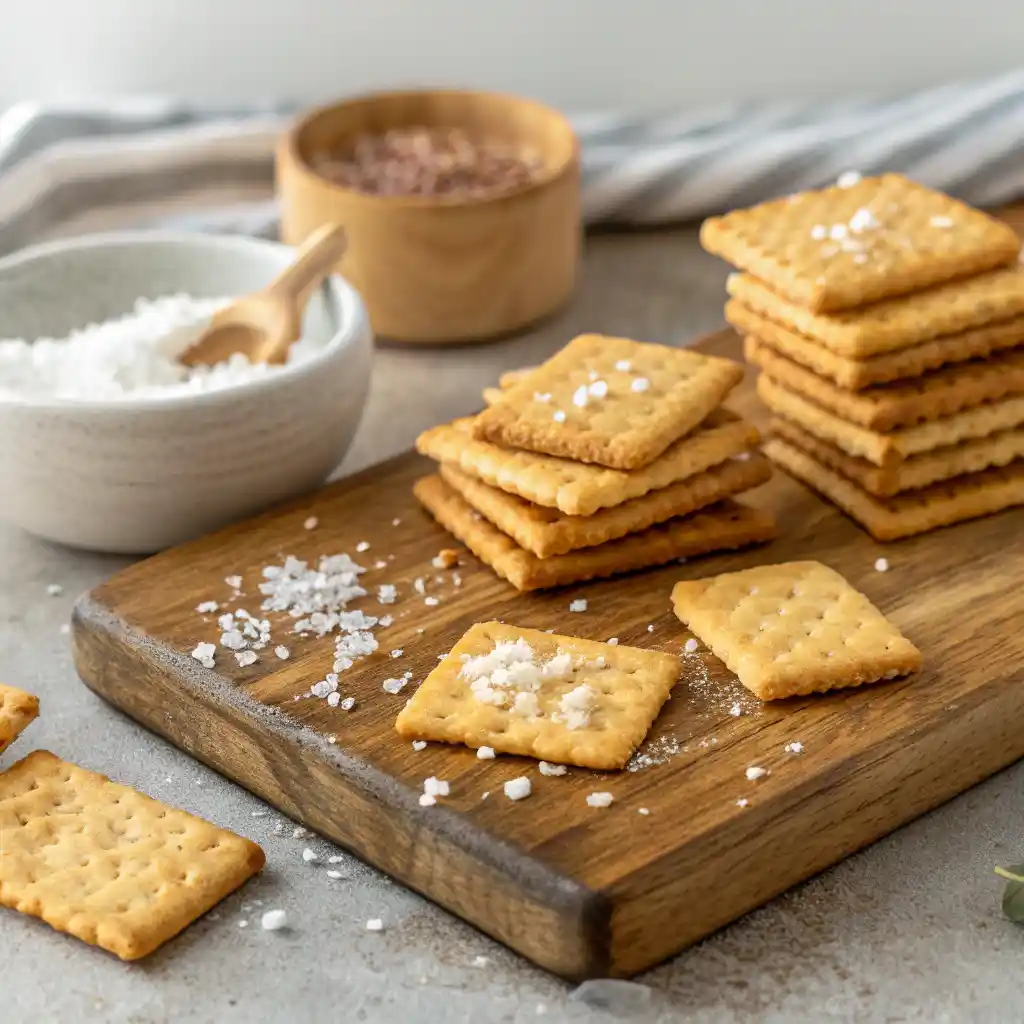
Storage & Serving Guide
Keeping Crackers at Peak Quality
Homemade Storage:
- Immediate (1-2 days): Airtight container at room temperature
- Longer term (up to 1 week): Glass jar with tight-fitting lid, cool dry place
- Humidity protection: Add a small packet of food-safe silica gel if your area is humid
- Signs they’re past prime: Soft texture, stale smell, or any flexibility when bent
Store-Bought Optimization:
- After opening: Transfer to airtight container immediately
- Original packaging: Those inner bags aren’t always fully airtight
- Portion control: Keep some in small containers for grab-and-go portions
Freezing Guidelines:
- Unbaked dough: Freeze cut gluten free crackers on parchment-lined sheets, then transfer to freezer bags (keeps 3 months)
- Baked crackers: Not recommended – freezing compromises texture
- Emergency refresh: If store-bought gluten free crackers go soft, 5 minutes in a 300°F oven usually revives them
Serving Suggestions That Impress
Appetizer Applications:
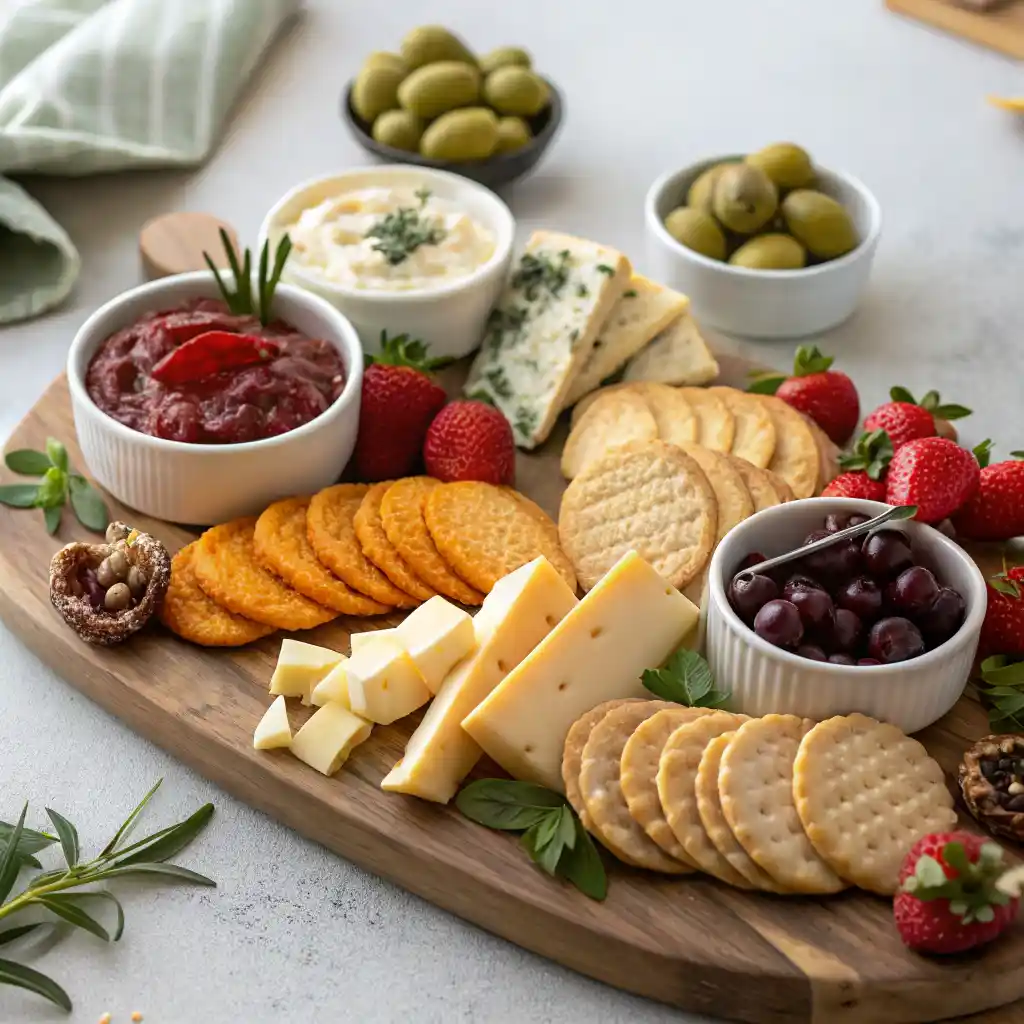
The Classic Charcuterie Integration: Place gluten free crackers in 2-3 spots around your board rather than one big pile. This encourages guests to try different combinations and prevents crowding around one area.
Dip Station Strategy: Pair your gluten free crackers with:
- Creamy: Whipped goat cheese with honey
- Chunky: Olive tapenade or sun-dried tomato spread
- Fresh: Avocado mash with lime and sea salt
- Indulgent: Brie warmed with cranberries and pecans
Meal Integration Ideas:
Soup Companion Excellence: Break gluten free crackers into rustic pieces and float in tomato soup, or serve whole alongside creamy mushroom or butternut squash soups.
Salad Crunch Factor: Crush gluten free crackers roughly and use as a “crouton” substitute. They add saltiness and texture without going soggy quickly.
Breakfast Innovation: Top with cream cheese and smoked salmon, or spread with almond butter and sliced banana for a satisfying morning snack.
Special Occasion Showcases:
Holiday Entertaining: Create a “cracker flight” with 3-4 homemade gluten free crackers varieties, each paired with a specific topping. Label them with small tent cards for an elegant touch.
Gift Packaging: Layer different flavored gluten free crackers in clear cellophane bags tied with ribbon. They keep well for gift-giving and look professionally made.
Party Planning: Calculate 4-6 gluten free crackers per person for appetizer portions, 8-10 for main snacking. Always make extras – they disappear faster than you think!
Nutritional Information & Health Benefits
The Numbers That Matter
Homemade vs. Store-Bought Comparison (per 6-cracker serving):
| Factor | Homemade | Premium Store | Budget Store |
|---|---|---|---|
| Calories | 95 | 120-140 | 100-130 |
| Fiber (g) | 2.1 | 1-4 | 1-2 |
| Protein (g) | 2.3 | 2-5 | 1-3 |
| Sodium (mg) | 180 | 140-300 | 200-400 |
| Cost per serving | $0.18 | $0.45-0.75 | $0.25-0.40 |
Hidden Health Advantages of Homemade
Control Over Ingredients: You know exactly what goes into your gluten free crackers. No mysterious “natural flavors” or preservatives with unpronounceable names.
Fiber Optimization: By choosing high-fiber flour blends or adding seeds, you can boost the fiber content significantly. Fiber aids digestion and helps maintain stable blood sugar levels.
Reduced Sodium Flexibility: Commercial gluten free crackers often contain 200-400mg sodium per serving. Homemade versions can be tailored to your dietary needs.
Fresh Factor: Homemade gluten free crackers don’t need shelf-stabilizing ingredients, so they can contain more nutritious oils and fresh herbs.
Portion Control Reality Check
Realistic Serving Sizes: While packages might claim 15 gluten free crackers equal one serving, most of us eat 20-25 in a sitting with cheese and dips. Plan accordingly for accurate calorie tracking.
Mindful Snacking Strategy: Pre-portion gluten free crackers into small bowls rather than eating from the container. This simple step can reduce consumption by 30-40%.
Balanced Approach: Pair gluten free crackers with protein (cheese, hummus) and healthy fats to create more satisfying, blood-sugar-stable snacks.
Cost Analysis: The Real Numbers
Breaking Down the Economics
Homemade Cost Analysis (based on average US grocery prices, September 2025):
- Gluten free flour blend (200g): $0.85
- Olive oil (6 tbsp): $0.45
- Egg (1 large): $0.25
- Salt and seasonings: $0.05
- Total cost per batch: $1.60
- Cost per cracker: $0.02
Store-Bought Comparison:
- Premium brands: $0.08-0.12 per cracker
- Mid-range options: $0.04-0.07 per cracker
- Budget brands: $0.03-0.05 per cracker
Annual Savings Potential: If your household consumes 2 boxes of gluten free crackers monthly:
- Premium brand cost: $144/year
- Homemade equivalent: $38/year
- Total savings: $106/year
Long-Term Investment Strategies
Bulk Buying Benefits: Purchase gluten free flour in 5-pound bags (vs. 1-pound boxes) to reduce per-unit costs by 25-40%.
Seasonal Savings: Stock up on specialty ingredients like nuts and seeds during holiday sales. Many keep for 6+ months when properly stored.
Equipment Amortization: A $25 investment in a good rolling pin and airtight storage containers pays for itself within 3 months of regular gluten free cracker making.
Frequently Asked Questions
Can I make these crackers without xanthan gum?
While xanthan gum provides the best texture, you can substitute with ¼ teaspoon ground psyllium husk or 1 teaspoon ground flaxseed. The texture will be slightly more fragile, but still delicious.
How long do homemade gluten free crackers actually last?
When stored properly in an airtight container, they maintain peak crispness for 3-4 days and remain good (though slightly softer) for up to a week. In humid climates, aim to consume within 2-3 days.
What’s the best flour blend for beginners who are overwhelmed by options?
King Arthur Measure for Measure consistently produces the most reliable results for beginners. It’s widely available and includes xanthan gum, eliminating guesswork. Bob’s Red Mill 1-to-1 is a good second choice.
Can I use a pasta machine for rolling the dough?
Absolutely! Start at the widest setting and gradually work down to setting 3 or 4 (depending on your machine). This creates incredibly even thickness and professional-looking results.
My crackers turned out too thick and chewy. Can I fix them?
Yes! Break them into pieces and return to a 300°F oven for 8-12 minutes. Watch carefully – they’ll crisp up and become much more enjoyable. For next time, roll thinner (⅛-inch max).
Are these crackers suitable for meal prep?
Perfect for meal prep! Make a double batch on Sunday, store properly, and you’ll have snacks all week. They also freeze beautifully as unbaked dough – just roll, cut, freeze, and bake directly from frozen when needed.
Can I double or triple this recipe?
Doubling works perfectly. For tripling, I recommend making one double batch and one single batch to ensure even mixing and consistent results. Use multiple baking sheets and rotate them halfway through baking.
What’s the best way to transport homemade crackers for parties or potlucks?
Layer them between sheets of parchment paper in a rigid container (like a large Tupperware). Avoid flexible bags that might crush them. For extra protection, use a cake carrier or pizza box.
Why do some of my crackers puff up while others stay flat?
This usually happens when the dough thickness varies or oven heat is uneven. Use a rolling pin with thickness guides (or rubber bands) to ensure uniformity, and rotate your pans halfway through baking.
Can I make these crackers sweet for dessert applications?
Definitely! Increase sugar to 2 tablespoons, add ½ teaspoon vanilla extract, and finish with cinnamon sugar instead of salt. They’re wonderful with soft cheeses, fruit, or even a light cream cheese frosting.
Related Resources & Recipe Inspirations
Complementary Recipes That Pair Perfectly
Dips and Spreads:
- Roasted red pepper hummus (doubles the Mediterranean flavors)
- Whipped feta with herbs (protein-rich and creamy)
- Caramelized onion and gruyere spread (elegant entertaining option)
Seasonal Cheese Boards:
- Fall: Crackers + aged cheddar + apple slices + candied walnuts
- Winter: Crackers + brie + dried cranberries + rosemary honey
- Spring: Crackers + goat cheese + radish slices + fresh herbs
- Summer: Crackers + fresh mozzarella + cherry tomatoes + basil oil
Kitchen Tools That Make a Difference
Essential Upgrades:
- Digital kitchen scale (for consistent results) – $25-35
- Silicone rolling pin (non-stick, easy cleanup) – $15-20
- Airtight glass storage containers – $20-30 set
Nice-to-Have Additions:
- Adjustable rolling pin with thickness guides – $35-45
- Pizza stone (for extra-crispy crackers) – $30-50
- Pastry wheel cutter (for decorative edges) – $10-15
Building Your Gluten Free Baking Foundation
If you’re inspired to explore more gluten free baking, these crackers are an excellent starting point. The techniques you’ll master – proper flour hydration, gentle mixing, and temperature control – apply to countless other recipes.
Consider expanding into gluten free breadsticks, savory scones, or even homemade pasta. Each builds on the skills you’ve developed here while opening new possibilities for your gluten free kitchen.
Discover great ideas like this pink salt weight loss recipe if you want even more ways to upgrade your wellness rituals.
Conclusion: Your Journey to Cracker Perfection
Making exceptional gluten free crackers isn’t just about saving money (though that $106 annual savings doesn’t hurt!). It’s about taking control of your snacking experience, knowing exactly what goes into your food, and having the satisfaction of creating something delicious from scratch.
Whether you’re newly gluten-free or a seasoned pro looking to expand your homemade repertoire, these crackers offer the perfect combination of simplicity and sophistication. They’re forgiving enough for beginners yet customizable enough to keep experienced bakers engaged.
The beauty of this recipe lies in its versatility. Master the basic technique, then let your creativity run wild with different seasonings, shapes, and serving applications. Your future self (and your wallet) will thank you for developing this valuable skill.
Ready to get started? Save this recipe, gather your ingredients, and prepare to discover just how easy and rewarding homemade gluten free crackers can be. Don’t forget to share your creative variations and success stories – the gluten free community thrives on shared discoveries and mutual support.
Pin this recipe for later, and if you try it, I’d love to see your results! Tag your photos and share what flavor combinations worked best for your family.
Have questions about this recipe or want to share your own gluten free cracker tips? Leave a comment below – I read and respond to every one, and your insights help other readers succeed too!

