The Heart of a Homemade Holiday pumpkin pie
I’ll never forget the first time my grandmother let me help make pumpkin pie from scratch. I was seven, standing on a wooden stool at her kitchen counter, watching her transform a humble sugar pumpkin into the most fragrant, silky filling I’d ever seen. The whole house smelled like cinnamon and nutmeg, and when we finally sliced into that pie after Thanksgiving dinner, everyone at the table went quiet—the kind of quiet that only happens when something tastes that good.
That’s the magic of homemade pumpkin pie. It’s not just dessert—it’s memory-making, tradition-building, and a little bit of edible love wrapped in a flaky crust. And while store-bought versions have their place, nothing compares to the depth of flavor and sense of accomplishment you get from making pumpkin pie from scratch.
This holiday season, I’m inviting you into the kitchen to experience that same joy. Whether it’s your first time or your fiftieth, this guide will walk you through every step—from roasting fresh pumpkin to serving that perfect, spiced slice.
If you love creamy, indulgent desserts, you’ll also want to try our classic Italian tiramisu recipe.
JUMP TO
Table of Contents
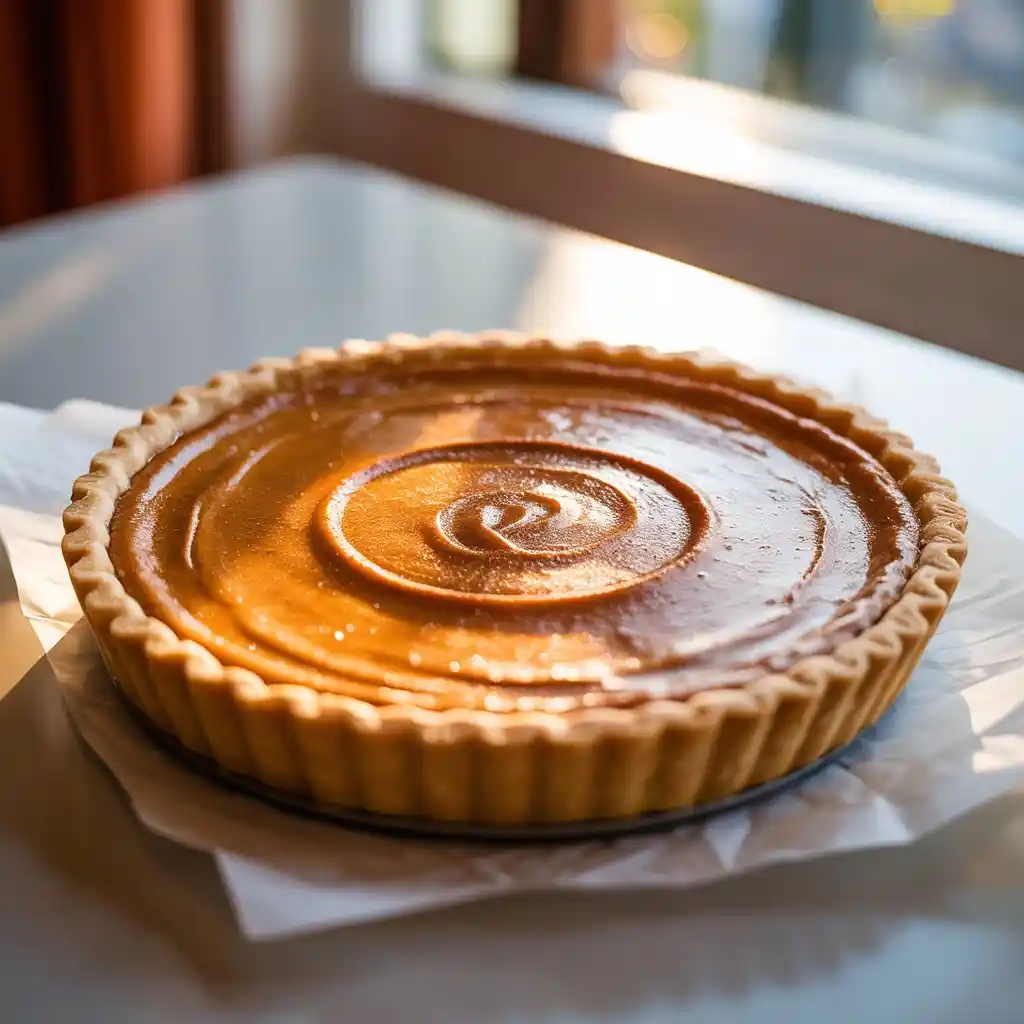
Pumpkin Pie from Scratch
Ingredients
Method
- Step 1: Make the Pumpkin Puree
- Step 2: Prepare the Pie Crust
- Step 3: Roll and Blind-Bake the Crust
- Step 4: Make the Pumpkin Filling
- Step 5: Cool and Serve
Video
Notes
Why Homemade Pumpkin Pie Is Worth the Effort
Let’s be honest: canned pumpkin puree is convenient. But when you make pumpkin pie from scratch using fresh pumpkin, you unlock a whole new dimension of flavor.
Fresh pumpkin tastes brighter, sweeter, and more complex. It has subtle caramel notes and a velvety texture that canned versions simply can’t match. Plus, when you control every ingredient, you can adjust the sweetness to your liking, dial up the spices, and create a crust that’s buttery and perfectly flaky.
Beyond taste, there’s something deeply satisfying about the process itself. The act of roasting pumpkin, rolling out dough, and watching your pie golden in the oven engages all your senses. You’ll find yourself lingering in the kitchen, savoring the warm aromas and the quiet satisfaction of creating something beautiful with your own hands.
Real example: Sarah, a home baker from Portland, Oregon, switched to fresh pumpkin after years of using canned. “The first time I tasted the difference, I literally texted my mom,” she says. “It was like eating pumpkin pie for the first time all over again.”
Ingredients You’ll Need
Before we dive in, let’s gather everything. I’ve broken this down into three easy sections so you can prep like a pro.
For the Pumpkin Puree
- 1 sugar pumpkin (about 3-4 pounds)
- 1 tablespoon olive oil or melted butter
For the Pie Crust
- 1¼ cups all-purpose flour
- ½ teaspoon salt
- 1 tablespoon granulated sugar
- ½ cup (1 stick) cold unsalted butter, cubed
- 3-4 tablespoons ice water
For the Filling
- 1¾ cups fresh pumpkin puree (from your roasted pumpkin)
- ¾ cup packed light brown sugar
- 1 teaspoon ground cinnamon
- ½ teaspoon ground ginger
- ¼ teaspoon ground nutmeg
- ¼ teaspoon ground cloves
- ½ teaspoon salt
- 3 large eggs
- 1 cup heavy cream
- ½ cup whole milk
- 1 teaspoon vanilla extract
Step-by-Step Recipe Instructions
Step 1: Make the Pumpkin Puree
Preheat your oven to 400°F. Cut your sugar pumpkin in half and scoop out the seeds and stringy bits (save those seeds for roasting later—they’re delicious!). Brush the flesh with olive oil or melted butter, place cut-side down on a parchment-lined baking sheet, and roast for 45-55 minutes until the flesh is fork-tender.
Let it cool for 10 minutes, then scoop out the flesh and blend it in a food processor until completely smooth. The result? A vibrant, naturally sweet puree that smells like autumn itself.
Flavor boost: Roasting caramelizes the natural sugars in the pumpkin, creating depth that canned puree simply doesn’t have.
Step 2: Prepare the Pie Crust
Get a large bowl and whisk the flour, sugar, and salt together. Add the cold butter cubes and use a pastry cutter or your fingertips to work the butter into the flour until the mixture resembles coarse crumbs with pea-sized pieces of butter throughout.
Drizzle in ice water one tablespoon at a time, mixing gently with a fork until the dough just comes together. Shape the dough into a disk, then cover it tightly in plastic film (or plastic wrap) and chill it for a minimum of 30 minutes.
Expert tip: Cold butter is the secret to a flaky crust. Those little butter pieces create steam pockets when baking, resulting in those beautiful, crispy layers everyone loves.
When chilled, roll the dough on a lightly floured surface into a 12-inch circle. Transfer to a 9-inch pie pan, trim the edges leaving a 1-inch overhang, and crimp decoratively. Chill again for 15 minutes.
Step 3: Blind-Bake the Crust
Preheat your oven to 375°F. Line the chilled crust with parchment paper and fill with pie weights or dried beans. Bake for 20 minutes, then remove the weights and parchment and bake for another 8-10 minutes until the crust is lightly golden.
Why blind-bake? This pre-baking step prevents the dreaded soggy bottom by creating a barrier between the wet filling and the crust. Trust me—this extra step is worth it.
Step 4: Mix the Pumpkin Filling
In a large bowl, whisk together your fresh pumpkin puree, brown sugar, cinnamon, ginger, nutmeg, cloves, and salt. Incorporate the eggs individually, ensuring you whisk thoroughly after each one. Pour in the cream, milk, and vanilla, whisking until the mixture is silky smooth.
Sensory cue: The filling should be pourable but thick enough to coat the back of a spoon. The aroma should be warm and spiced, with notes of cinnamon taking center stage.
Step 5: Bake the Pie
Pour the filling into your prepared crust and smooth the top. Bake at 375°F for 50-60 minutes. The pie is done when the edges are set but the center still has a slight jiggle (about a 2-inch circle in the middle).
Doneness test: Gently shake the pan—if the center wobbles like soft-set Jell-O, it’s perfect. It will continue to set as it cools.
Let the pie cool completely on a wire rack (this takes about 3-4 hours), then refrigerate for at least 2 hours before serving. This resting time allows the filling to firm up and the flavors to deepen.
Step 6: Serve and Enjoy
Slice your pumpkin pie from scratch and serve it cold or at room temperature. Top each slice with a generous dollop of fresh whipped cream, a light dusting of cinnamon, or even a drizzle of salted caramel sauce.
Storage tip: Cover and refrigerate for up to 4 days. You can also make this pie a day ahead—in fact, the flavors often taste even better after sitting overnight.
Optional Variation: Caramel Pecan Topping
Want to take your pie to the next level? Try this quick caramel pecan topping.
In a small saucepan, melt ½ cup butter with ¾ cup packed brown sugar and 3 tablespoons heavy cream. Bring to a gentle boil, stirring constantly, and cook for 2 minutes. Remove from heat and stir in 1 cup chopped pecans.
Let the caramel cool for 5 minutes, then pour it over your cooled pie. Refrigerate for 30 minutes to set. The result is a crunchy, buttery topping that adds incredible texture contrast to the creamy filling.
Expert Tips for Perfect Pumpkin Pie
Here are my top tricks for bakery-worthy results every time:
- Choose sugar pumpkins: Also called pie pumpkins, these small varieties (3-5 pounds) have denser, sweeter flesh than carving pumpkins.
- Don’t skip the chill: Both the dough and the assembled pie benefit from resting in the fridge—it improves texture dramatically.
- Shield the edges: If your crust starts browning too quickly, tent the edges with aluminum foil halfway through baking.
- Use room temperature eggs: They incorporate more smoothly into the filling, creating a silkier texture.
- Let it rest: Patience is key! Cutting into a warm pie results in a runny filling. Give it those full cooling hours.
- Make ahead: The crust can be made 2 days ahead, and the whole pie tastes fantastic made the day before serving.
A Slice of Holiday Tradition
As I write this, I’m thinking about all the pumpkin pies that will grace tables this holiday season—the ones that will become someone’s first pumpkin pie memory, or the ones that will carry on a family tradition for another generation.
When you make pumpkin pie from scratch, you’re not just following a recipe. You’re participating in something bigger: a ritual of gathering, sharing, and celebrating the season with the people you love. Yes, it takes more time than opening a can. But those extra hours in the kitchen? They’re where the magic happens.
So this year, I encourage you to embrace the process. Roast that pumpkin. Roll out that dough. Fill your home with the scent of cinnamon and spice. And when you finally cut into that golden pie, know that you’ve created something truly special—something made with your own two hands and flavored with tradition.
FAQs Pumpkin Pie
Can I use a different type of pumpkin?
Sugar pumpkins (also called pie pumpkins) work best for their sweet, dense flesh. Avoid using large carving pumpkins—they’re watery and bland. If sugar pumpkins aren’t available, kabocha or butternut squash make excellent substitutes.
How do I know when my pumpkin pie is done baking?
The edges should be fully set while the center still jiggles slightly (about a 2-inch diameter). Insert a knife 1 inch from the edge—it should come out clean. The center will continue cooking as it cools.
Can I freeze pumpkin pie?
Yes! Wrap the cooled pie tightly in plastic wrap, then aluminum foil. Freeze for up to 1 month. Thaw overnight in the refrigerator before serving.
Why did my pie crack?
Cracking usually happens from overbaking or cooling too quickly. Avoid opening the oven door frequently, and let the pie cool gradually at room temperature before refrigerating.
Can I make the crust and filling ahead?
Absolutely! Make the crust up to 2 days ahead and refrigerate, or freeze for up to 3 months. The filling can be mixed the night before and stored covered in the fridge.
What’s the difference between evaporated milk and heavy cream in pumpkin pie?
Heavy cream creates a richer, silkier texture, while evaporated milk is traditional and slightly lighter. I use a combination for the best of both worlds, but you can use all of either one.
Ready to Bake Your Best Holiday Pie?
Now that you have everything you need to create an unforgettable pumpkin pie from scratch, it’s time to head to the kitchen! Don’t forget to save this recipe for easy access during the holiday rush.
Pin this recipe now so you’ll have it ready when pumpkin season arrives. And after you’ve baked your masterpiece, I’d love to see it—tag your pie photos with #ScratchMadePumpkinPie and share your baking story in the comments below.
Happy baking, and here’s to creating delicious memories, one slice at a time!


2 thoughts on “Pumpkin Pie from Scratch”